While a professional pedicure is a lovely treat, maintaining healthy feet at home is essential – and totally doable! Your key tool? A simple pedicure kit. Think of it as your first-aid kit for happy feet. Let’s break down how to use it safely and effectively for your basic home foot care routine.
Why Home Foot Care Matters (Beyond Pretty Polish!)
Our feet are workhorses, carrying us everywhere. Neglecting them can lead to calluses, painful cracks, ingrown toenails, or infections. Regular home care keeps skin soft, nails healthy, prevents problems, and simply feels great! A pedicure kit gives you the basic tools to achieve this.
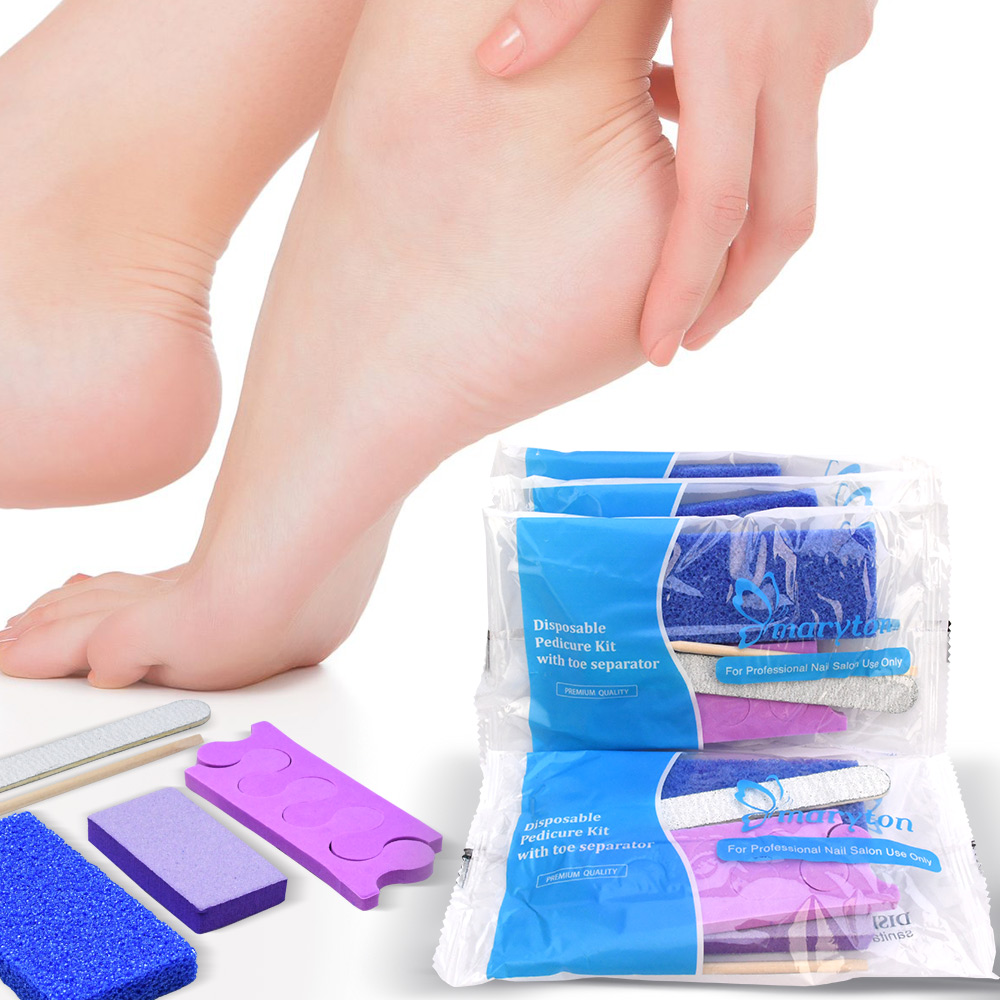
Inside Your Beginner’s Pedicure Kit: Meet the Tools!
Most basic kits contain these essentials. Handle them with care and always prioritize cleanliness:
1. Nail Clippers: Your go-to for trimming toenails.
How to Use: Cut nails STRAIGHT across. Seriously, avoid rounding the corners! This is the #1 way to prevent painful ingrown toenails. Don’t cut too short – aim for just at or slightly above the tip of your toe. Sanitize before and after use.
2. Nail File (Emery Board): Shapes the nails after clipping and smooths rough edges.
How to Use: After clipping, gently file in one direction (not sawing back and forth) to smooth the edges and shape slightly if needed, but keep that straight-across profile. Files also gently smooth any tiny snags.
3. Cuticle Nipper (or Pusher): Handle with extreme caution! These are for dealing with dead, loose cuticle skin ONLY.
How to Use: Never cut living cuticle tissue! After soaking, gently push back softened cuticles using the rounded end of a cuticle pusher or an orange stick wrapped in cotton. Only use nippers to carefully snip very loose, clearly dead bits of skin that stick up – if you’re unsure, skip it! Cutting too deep invites infection. Beginners might prefer to just push gently and moisturize.
4. Pumice Stone: For gently smoothing rough skin and calluses on heels and balls of feet.
How to Use: Always use on WET skin after soaking. Use very gentle pressure in circular motions. Never file aggressively to remove thick calluses quickly – this damages skin. Regular gentle filing is safer and more effective. Stop if it feels sore. Disinfect after use.
5. Nail Buffer: Adds shine to the nail surface.
How to Use: Gently buff the surface of the nail in one direction after filing to create a smooth, slightly shiny finish. Don’t over-buff, as it can thin the nail.
Your Simple, Safe Home Pedicure Routine (Step-by-Step):
Do this weekly or bi-weekly for best results.
1. Soak & Soften (5-10 mins): Fill a basin with warm water. Add a tablespoon of gentle liquid soap or Epsom salts. Soak your feet. This softens nails and skin, making everything easier and safer. Dry feet thoroughly afterwards, especially between toes! Dampness breeds fungus.
2. Trim & Shape: Use clean clippers to cut nails straight across. Use the file to smooth any rough edges, filing in one direction. Remember: Straight is great!
3. Gentle Cuticle Care: Lightly push back softened cuticles with a pusher/orange stick. Only nip obvious, loose hangnails with sanitized nippers – if hesitant, skip nipping altogether and focus on moisturizing later.
4. Smooth Calluses (Gently!): While skin is still slightly damp from soaking, use the pumice stone or callus file with light pressure on heels and balls of feet. Focus on areas that feel rough. Short, gentle sessions are better than aggressive filing. Rinse and dry feet again.
5. Buff (Optional): Lightly buff nails for shine if desired.
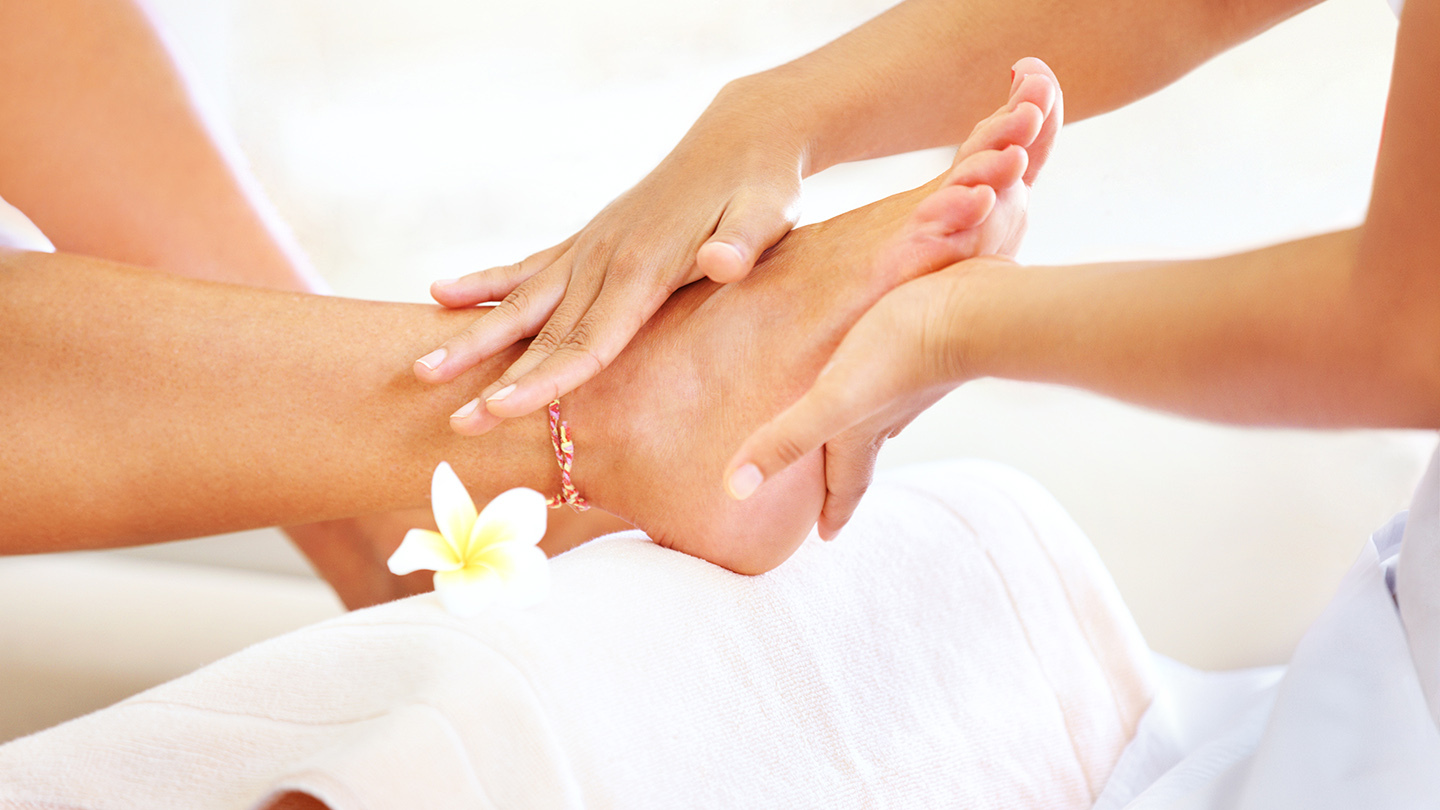
6. Hydrate & Moisturize: Massage a good foot cream or lotion generously all over your feet (avoiding between the toes). Put on clean cotton socks to help the cream absorb. This is crucial! Hydrated skin is healthy, flexible, and less prone to cracking.
7. Clean Your Tools: Wash tools with soap and warm water. Dry them completely. Wipe metal parts (clippers, nippers) with rubbing alcohol. Store your kit in a clean, dry place. Dirty tools are a big no-no!
Golden Rules for Beginners:
- Cleanliness is King: Wash hands and feet before starting. Sanitize tools before AND after every single use.
- Patience, Not Pressure: Never force a tool. Gentle, repeated care is safer and more effective than aggressive action.
- Know Your Limits: Thick, painful calluses? Discolored nails? Signs of infection (redness, swelling, pus)? Suspected ingrown toenail? Stop! See a podiatrist or doctor. Home kits aren’t for treating medical issues.
- Soak, Don’t Scorch: Warm water only. Hot water can damage skin, especially if you have reduced sensation (like with diabetes).
- Skip the Salon Shortcuts: Don’t use razor blades or credo knives at home. These require professional skill to avoid serious injury.
- Inspect Regularly: Check your feet often for cuts, blisters, sores, or changes. Early detection is key!
Investing in Your Foundation
Your pedicure kit is a small investment in your overall well-being. By following these simple steps consistently and safely, you’ll keep your feet feeling smooth, comfortable, and healthy. Remember, healthy feet are happy feet – and happy feet take you everywhere you want to go! Enjoy your home foot care ritual – you’ve earned it. If you have specific foot concerns, always consult a podiatrist. Happy pampering!